The following text is taken from Appendix A - Details of Illustrations:
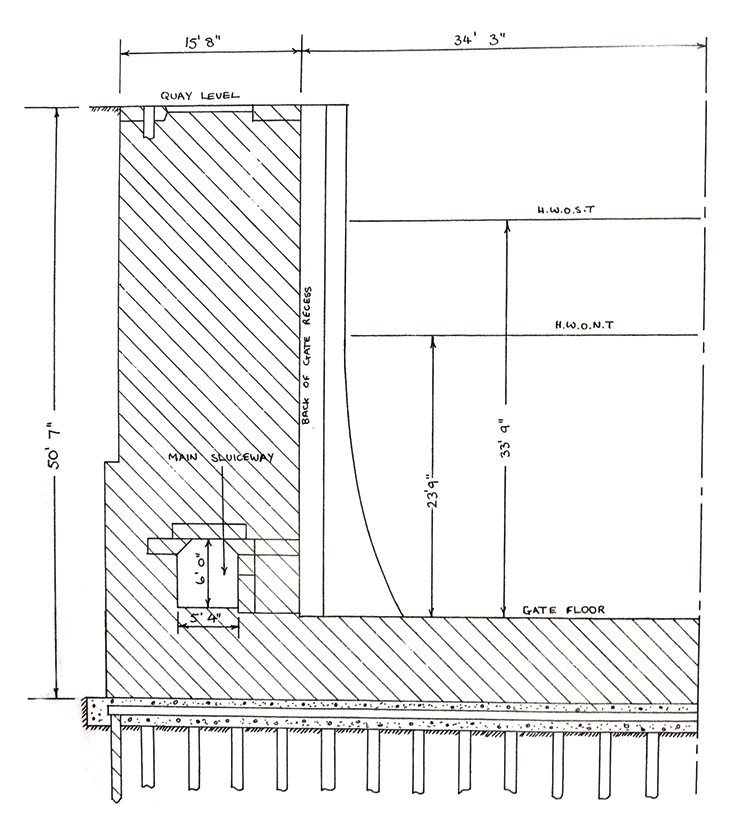
This figure comes from the same source as figure 17 and also represented a section from Plate 15, figure and labelled as Plate15, figure 8 in the book. ['Docks and Harbours'] It should be pointed out that both this figure and figure 17 are drawn looking westwards along the lock chamber.
In this figure the change in the foundation of the wall should be noted together with a much more substantial cross-section of the wall itself.
|